Loading...

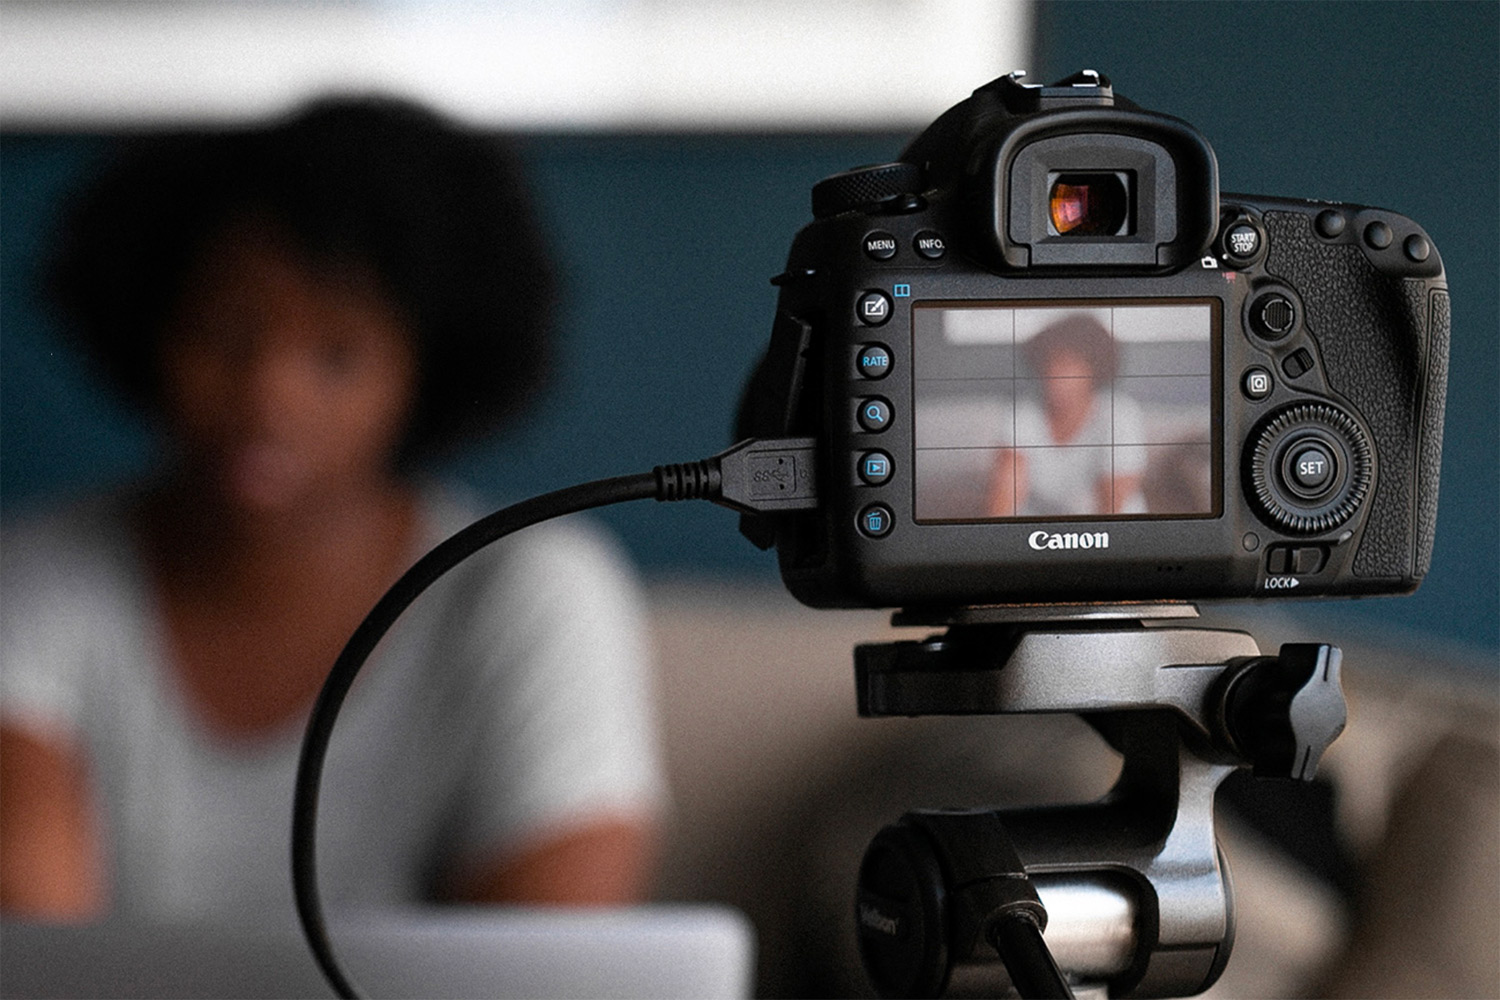
Video calling is now the norm amidst the COVID-19 pandemic, so what if you could move beyond your computer’s aging camera and use a DSLR or mirrorless camera instead?
You can do that now, thanks to software updates that better connect these cameras to Windows PCs and Macs. They can produce higher video quality, making you look clearer to whomever is on the call. If you’re looking for an upgrade to your home office video setup — and you have a compatible camera lying around — it may be worth your while to do this.
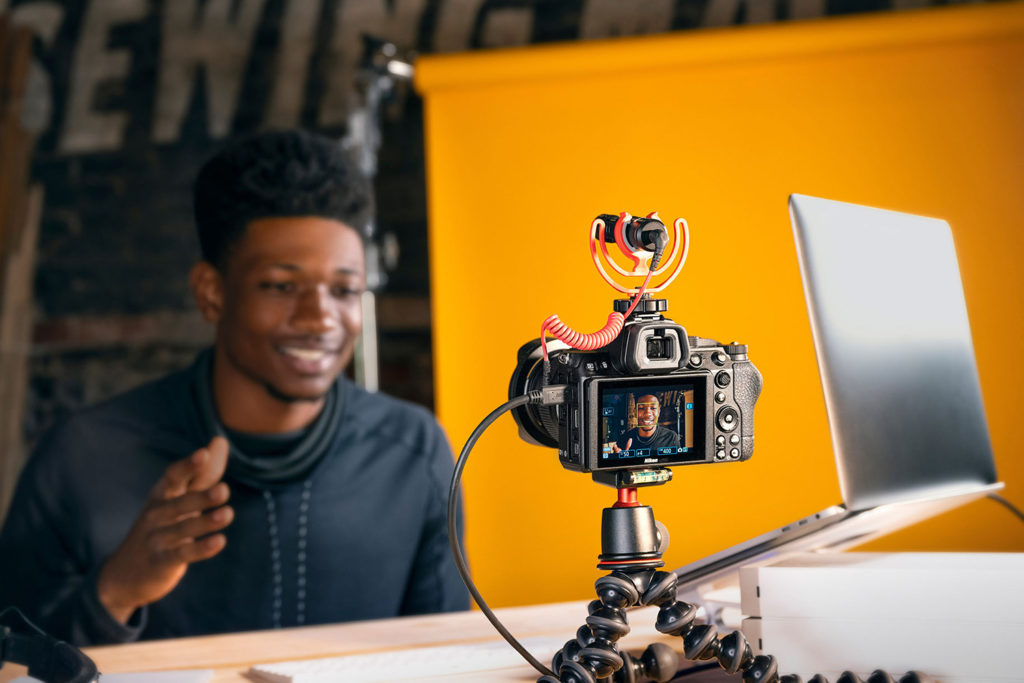
Setting it up does require some forethought because you do need to position the camera properly to be at eye level with you. Whether you do that with a small tripod or stacking a few things to get the necessary elevation, here’s how to get started with everything else.

To start, I should point out that this is for cameras made by Canon, Nikon, Sony, Fujifilm and Olympus. It would take too long to list all of the compatible models, but here’s the short of it:
Not all Canon cameras will work as webcams, as outlined by the breakdown here. The good news is all of its mirrorless models are compatible, as well as 20 other models. In that section, you will also find instructions to download and install the software onto a PC or Mac.
There is a limited number of Nikon cameras that will work with its Webcam Utility software, and those that can are noted in the fine print. All the Z-mount mirrorless models, plus some 13 DSLRs are compatible.
Sony’s penchant for naming its products non-descript letters and numbers may be confusing when looking at what’s compatible. You can find the list on the same page offering the Imaging Edge Webcam software for download.
In this case, Fujifilm prioritizes its X and GFX Series cameras for its X Webcam software to facilitate the connection. That doesn’t mean all X-Series cameras will be compatible, especially because the earlier models were not great with video.
This setup is still technically in beta, and as such, only supports a few cameras. The OM-D Webcam Beta software is pretty straightforward to set up should you have one of the cameras that can handle it.

Your needs will vary a little depending on whether you’re using a PC or Mac. The key is what to use to connect the camera to the computer in the first place. In some instances, that will be easy, where you only need to hook them up via USB. The necessary cable may have already come with the camera, but if not, make sure you get one — or at least an adapter — if need be. Some PCs and Macs use USB-C, so you may need an adapter to make the connection work.
If you’re going to try doing this with a camera or computer that aren’t compatible, you’ll need to jump through a few hoops for that. One of those would be to use what’s called a video capture device, which is like an external video card that usually has HDMI ports. Be aware of what cables are required as well. Then, you would also need software to capture and display the video signal.
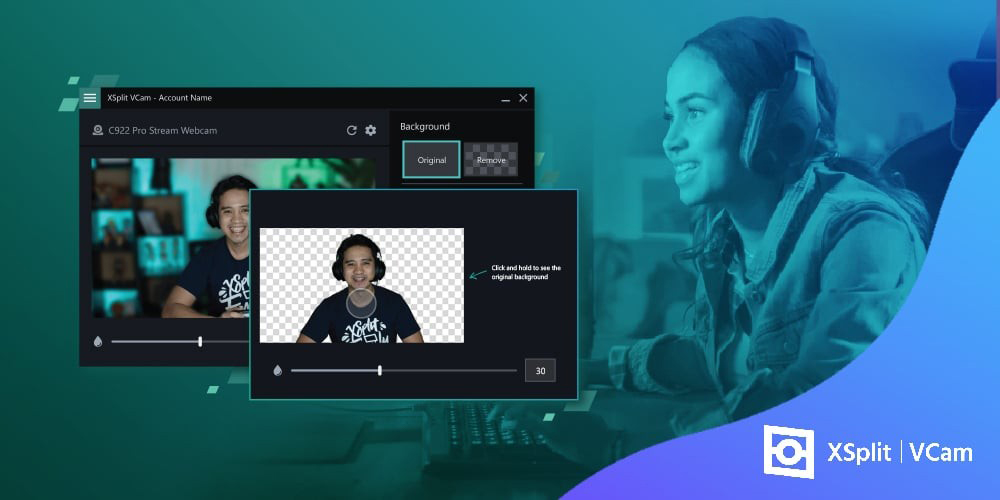
Sparkocam is software that takes the video signal from the camera and applies it to a platform that lets you apply effects in real-time as you broadcast. A free option worth considering is OBS Studio, while Streamlabs and XSplit also deserve a look.
Using video cards and software like that are more about upping your game, especially if you’re looking to record a video podcast or stream live. No matter which route you take, you will need to think about how to support the camera with accessories.

Once you’ve got everything working, you will need to consider a few things if you plan to use this setup often. Whether it’s for video conference calls and meetings, or you have an idea to stream or podcast, you will need to prop up the camera in a way that makes sense.
Not only that, but you would also have to think about things like lighting, sound and accessibility. For instance, if the camera doesn’t have a fully articulating screen you can flip the other way to see yourself, you will have to play around with positioning to frame yourself the right way. Maybe you could use a tripod for that.
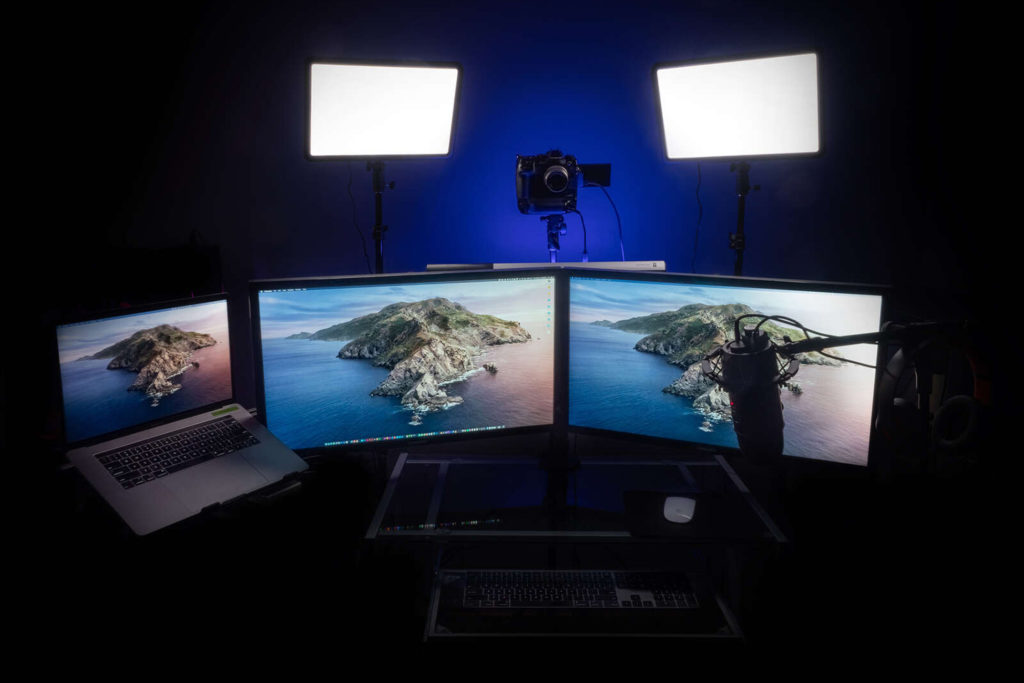
Then, if you’re in a room that has no windows, lighting becomes more important. If it’s too dark, you could always buy a separate light that you can mount on top of the camera, or an LED flood lamp that photographers use to illuminate you from an angle and avoid shadows. If you want to make sure your voice comes through, use a microphone or headphones to plug into the camera or computer, depending on your setup.
Again, the point of accessorizing your setup is to professionalize your workspace for whatever video you’re doing. The better you look, the more people notice.
Naturally, I would never suggest buying a mirrorless or DSLR camera for solely this purpose. The webcam setup is a fringe benefit, not a primary feature of owning such a camera. It’s just that if you have one, you could always get a little more out of it by using it this way.
It’s a good question. Except it’s only relevant if you have neither a DSLR/mirrorless camera nor an external webcam. If that’s your situation, then go with what your budget allows. There are certainly some good webcams available that you can use as alternatives, though they won’t match the video quality of the latest cameras.
So, it comes down to what your priorities are. If you do go the DSLR/mirrorless route, you should be buying it first for photography. That’s its primary purpose. If you go the webcam route, it’s pretty clear that you can only use it for one thing.
To ‘GetConnected’ to our newsletter, fill out the details and hit the ‘SUBSCRIBE’ button. We do require you to confirm your email.