Loading...

One of the hottest games out right now is Animal Crossing: New Horizons for the Nintendo Switch. This is the latest iteration of the popular series of Animal Crossing games that goes back decades. It’s been particularly popular with everyone being stuck at home in isolation during the current situation we’re enduring worldwide. What better way to spend that time than to move to a deserted island and escape the toilet paper apocolypse!
One of the fun features of Animal Crossing is the ability to collect, wear and customize items within the game. This is done by using the Custom Designer you find on your in-game NookPhone.
You’re able to use the in-game tools to make your own designs but what about using your own images and graphics from outside? Fortunately, Nintendo has made it somewhat easy to do if you follow these simple steps but you will also need a Nintendo Online subscription and the app on your smartphone. This is key as the way to get outside images into the game.
A full video walkthrough at the bottom of this post but here is the step-by-step method if you prefer that.
Let’s start outside the game first though since you’ll need to prepare your image before adding it in game.
Visit acpatterns.com which has a handy editor for creating images with your computer instead of with your Switch’s controller. You can also upload nearly any image and it will give you crop and editing tools.

Start by clicking on the Editor menu item.

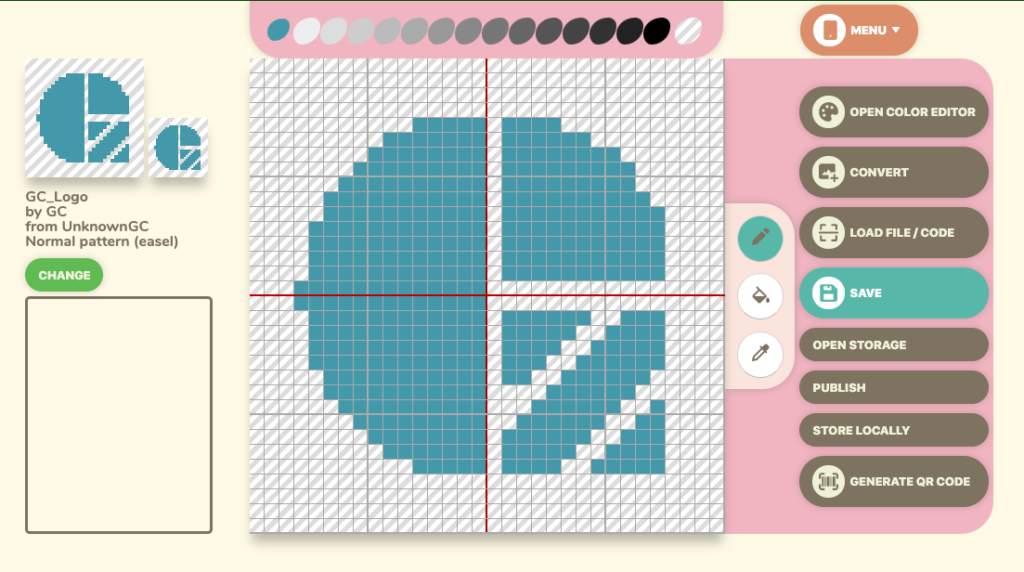
Then, click on Convert to choose an image on your computer (jpeg or png) which can be a photo or graphic.

Once you’ve uploaded your image but not all images will convert into something recognizable so you’ll have to experiment.


If everything looks good (it will be pixelated with a few preview sizes), click on the Generate QR Code button on the right menu. You also have the ability to rename it and add your character names if you click on the Change button.

Now click on Save Image to save this to your computer but you can actually scan it right from here
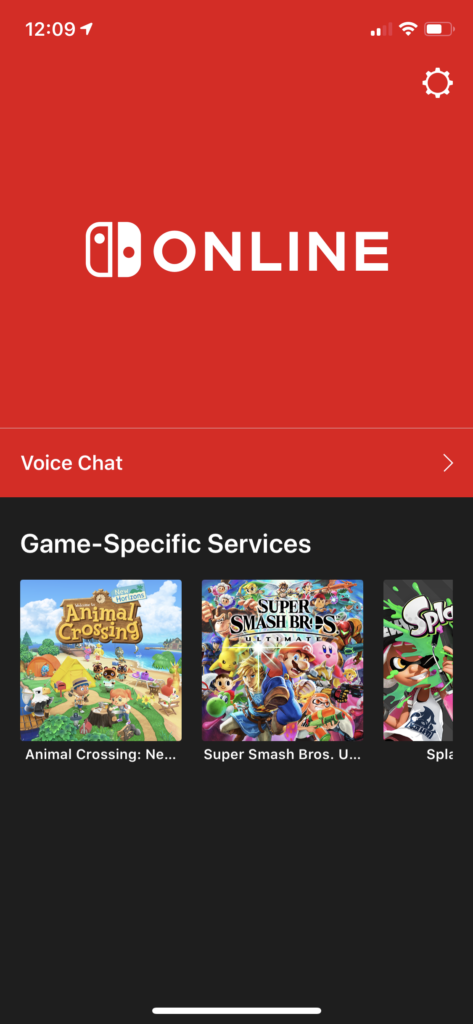
Launch the Nintendo Online app after selecting the Animal Crossing game, letting the Nook Phone ‘boot’ and then choosing the Designs option.


Click on the “Scan a QR code” button and point your phone at the QR code you just created or you can try ours above.


I noticed that it doesn’t always properly give you a preview of the image you just made (like in this case) so click Save until you can verify in-game. Most of the time it’s been fine in the game, just not on the phone app.
Now, grab your Switch and go into the game and activate your Nook Phone (tap the ZL button to bring it up).

Then choose the Custom Design icon.

You should have a “Download” option on the lower right activated by the + button.

You’ll then be asked to connect to the internet and download a custom design made for the Nintendo 3DS games.

Tap Download and it should present you with an option to save your image and choose a save slot.
Find an empty slot (or one you don’t mind overwriting) and click “Overwrite it”.

You’re done! Your image should now be available to use as face paint, a t-shirt design or something you can put on the ground, floors and walls within the game!

Use this new super power wisely! If you get this working, feel free to try this bonus surprise QR code and share with us how you use it.

Here’s a full video walkthrough of all the steps to add your images to the game:

To ‘GetConnected’ to our newsletter, fill out the details and hit the ‘SUBSCRIBE’ button. We do require you to confirm your email.